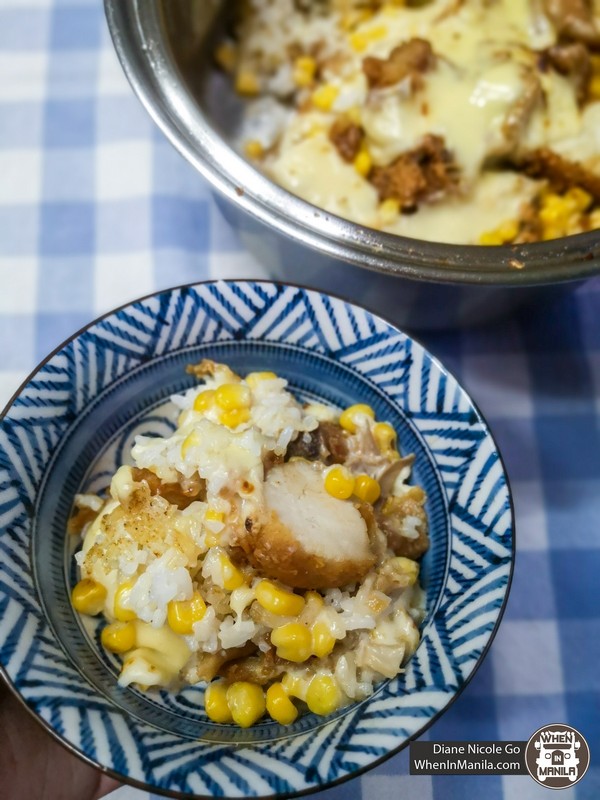
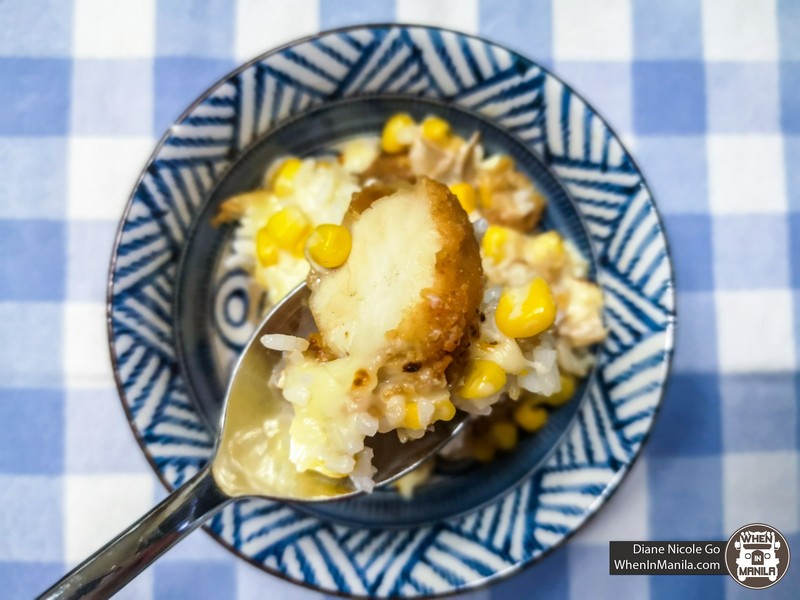
More often than not, people turn to the internet as a source of ideas on what to cook next. I’m no exception to that. YouTube used to be my go-to source for recipes, but surprisingly, I’ve found a few promising ones over on TikTok. And this includes the now-viral Jollibee Baked Rice recipe.

While there are many variations of this Jollibee Baked Rice, the more popular version comes from TikTok user @wow.waz, where he cooks his version in a Korean Bibimbap bowl. Since then, a lot of people have created their own, with the likes of ForkSpoonManila creating his with kimchi rice, among others.
Even I got on the bandwagon and made my own version. This straightforward recipe uses the elements of a Jollibee meal—from the well-loved Chickenjoy to the gravy—and capitalizes on its flavors. But I added a twist to mine—buttered corn. And let’s not forget another crowd favorite, the cheese.
Simple, affordable, and tasty. The Jollibee Baked Rice is all these and more. And the beauty of it all? Anyone can make this, whether you’re a seasoned home cook or even a newbie.
Jollibee Baked Rice with Buttered Corn
Ingredients:
- 2-piece Chicken Meal from Jollibee (Preferably the breast part, but you can use any meaty part. Make sure it comes with rice and gravy.)
- 1 tbsp of butter
- Half a can of corn kernels
- Salt and pepper, to taste
- 1 tbsp of cooking oil
- Half a block of cheese (Or as much cheese as you want. I used a mix of Eden and Quickmelt in mine.)
Procedures:
- Cut your chicken into strips. Set aside.
- Cut your cheese into strips. Set aside.
- In a pot under low heat, add butter and let it melt. Add corn, and saute until fully coated in butter. Season with salt and pepper, mix and then remove from pot.
- In the same pot, add oil. Place rice inside and flatten. Layer with your chicken and corn. Top with gravy. Mix it for a bit, then place cheese. Keep the heat low since you don’t want the rice to burn.
- Cover the lid, and let the cheese melt.
- Serve and enjoy.
Check out a step-by-step tutorial, right here!
https://www.facebook.com/WhenInManila/videos/319280212788781/
Which TikTok recipe should we try out next?
Do you have a story for the WhenInManila.com Team? Email us at story.wheninmanila@gmail.com or send us a direct message at WhenInMania.com Facebook Page. Interact with the team and join the WhenInManila.com Community at WIM Squad and join us on Viber where we share our stories and more!


